
I saw a shirt like this online, but the tutorial was difficult for me to follow. I sort of made up my own procedure. I happened to have a gray Shade brand shirt in my closet that I rarely wore... because it's gray and I am not certain "how" to wear it. This little knot improvement really made a nice detail and I love to wear the shirt now.


So, I cut at an angle from the collar hem towards my right underarm area. You can cut as low down the neckline as you wish the knot to be.
Then I decided that I needed to cut two little triangular pieces for me to be able to tie. So, I cut down from the tip of the collar area I had just cut. on both sides of the cut.

And I tied those little triangle pieces.

Then I took one side of the tie and tucked it under and through the hole that formed after I made a knot. See me holding the piece that I just tucked into the the hole and through into the inside area of the shirt?

Then I tied those two little pieces again (over the knot).

I cut most of the collar off the front of the shirt because it was too bulky to sew down on the inside of the shirt.

I folded those large flaps of cloth into the inside area of the shirt and laid them flat against the shirt. Then I blind stitched to hem down the flaps against the shirt so it laid smooth. When I blind stiched, I just picked up the slightest bit of cloth so you can't see my stiching from the outside of the shirt.


Here is what the stiching looked like from the inside.


Turn the shirt right side out...Voila!
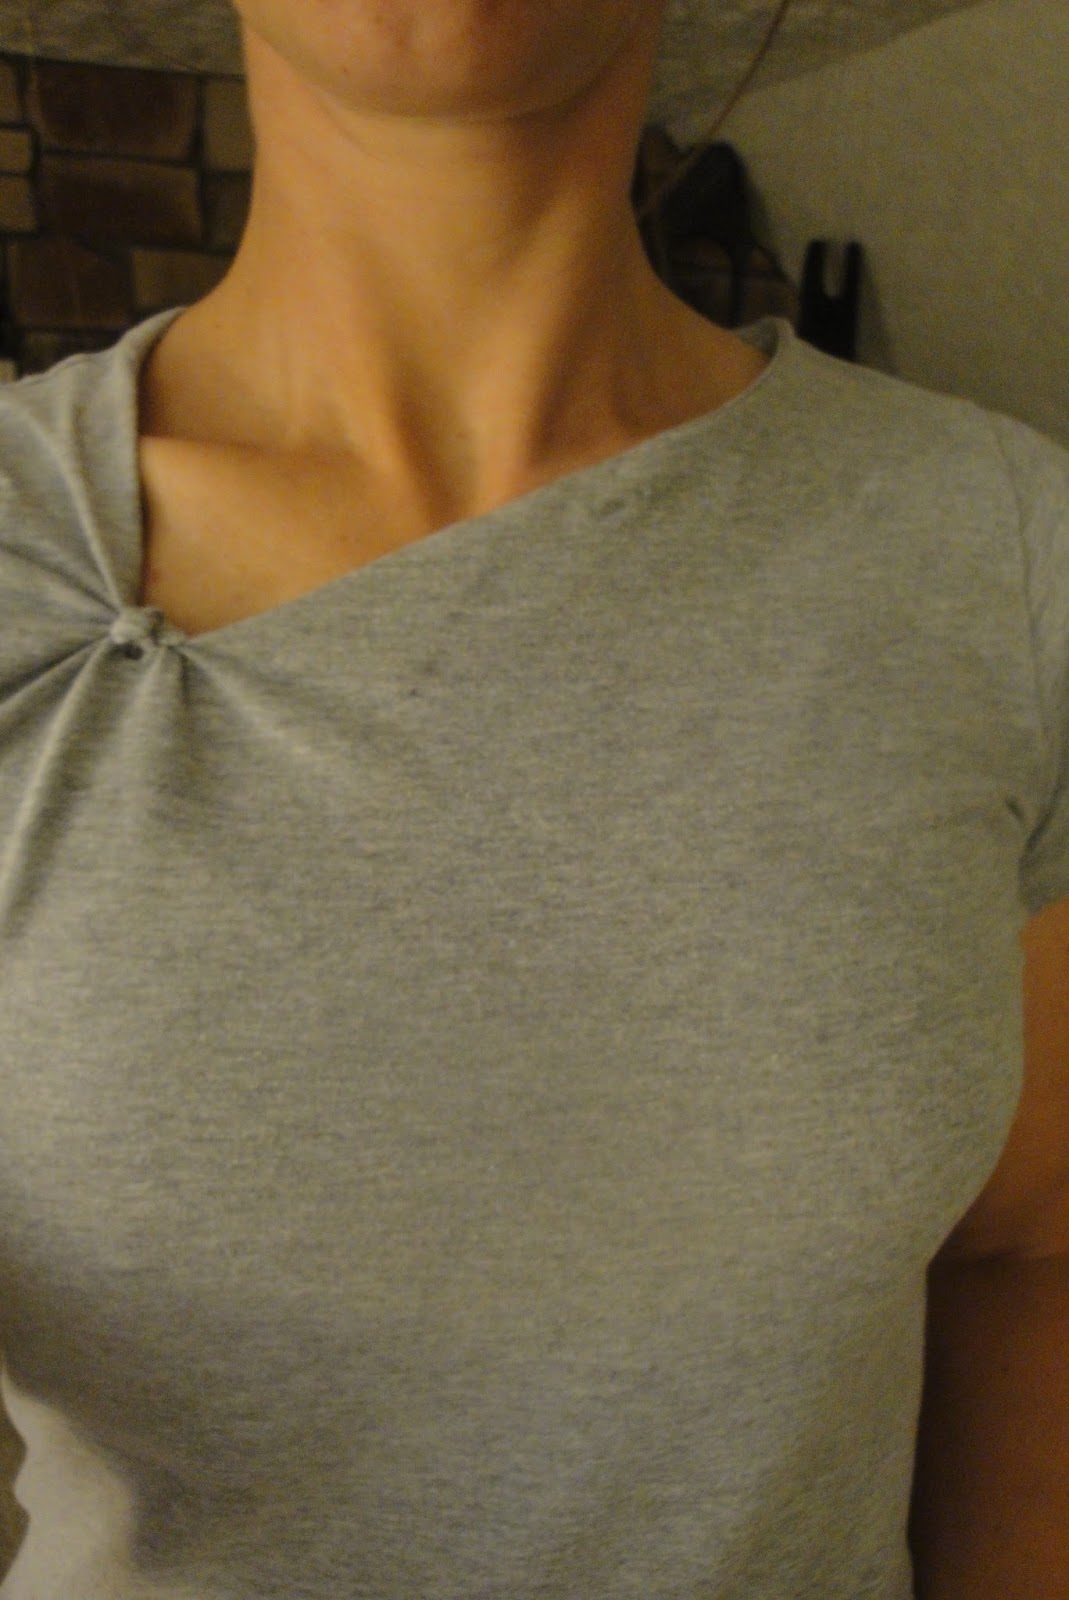
I was hesitant to try this out, but I used a shirt that I just don't really wear anyway and it made it easier for me to experiment. I am so pleased with the end result! I washed this once in the clothes washer with the rest of my clothes like normal and the stitching and knot held fine. Go find a shirt you rarely wear and try this out! You'll love it!


