Friday, July 22, 2011

SMMART ART: Fun in the Sun!

These fun outdoor activities let your child express herself while at play.
Sandcastle Keepsake
You'll need:
3 c fine sand
1 1/2c water
1 1/2c cornstarch
(glitter-optional)
old pot
plastic trash bag (tape)
large spoon

Combine the water, cornstarch in an old pot over low heat.  Add the sand and stir continually until the mixture becomes thick.  You may need to add a little more sand till the mixture is "sturdy" enough to be molded into shapes.  Take the mixture off the heat and let cool.  Dump the sandy mixture onto a plastic trashbag that is laid out like a tarp.  Let your child mold the mixture.  Use measuring cups and spoons, little funnels or cookie cutters to create unique shapes for your sandcastle.
If you are using a sandcastle mold, use a little cooking spray to coat the mold and the packed sand mixture should slide out more easily.  Let your child decorate her sandcastle with shells, glass jewels or other adornments.  You can try incorporating glitter into your mixture while it cooks or sprinkle some on your finished project and shake off the excess when the castle dries.

Sunny Name
Scour the beach or your yard for unique shaped objects- twigs, leaves, rocks, shells.  Have your child lay the objects out on a piece of construction paper to form her name (or the first letter of her name).  Leave the paper in the sun for the day.  When your child removes the objects she'll discover that the sun has faded the paper around the objects and your child's name is left unfaded by the sun.

Monday, July 18, 2011

SMMART SCIENCE: Solar Still

Sun Power...amazing!  An hour and a half at the pool yesterday and not getting enough sunscreen on my own back...a beautiful, (slightly painful) pink burn.  It's  amazing how strong the sun's rays are and the magnitude of power from so far away in the solar system. 

"The sun is the closest star to Earth, at a mean distance from our planet of 149.60 million km (92.96 million miles). About one million Earths could fit inside the sun. It is held together by gravitational attraction, producing immense pressure and temperature at its core. The sun has six regions -- the core, the radiative zone, and the convective zone in the interior; the visible surface (the photosphere); the chromosphere; and the outermost region -- the corona.

At the core, the temperature is about 27 million degrees Fahrenheit (15 million degrees Celsius). The sun's surface -- the photosphere -- is a 500-km thick (300-mile-thick) region, from which most of the sun's radiation escapes outward and is detected as the sunlight we observe here on Earth about eight minutes after it leaves the sun." (http://solarsystem.nasa.gov/planets/profile.cfm?Object=Sun&Display=OverviewLong)

The heat of the sun evaporates water, which changes water from it's liquid state to a gaseous state.  Help your child see the power of the sun by making a simple Solar Still. (www.pbskids.org/zoom)
You will need to fill a large bowl with a few cups of water.  You can get creative with the water...put some food coloring in the water for a visually effective lesson, or mix in salt to represent ocean water.  You can even try this activity with orange juice or cola.  The evaporated water will be purified by the sun's evaporation/condensation process, so you should have a clearer, and less-salty version than you started with.

Place a glass or bowl inside the pool of water, with the glass being just above the water level and lower than the rim of the large bowl.  (You may wish to see if a metal bowl works better at recovering purified water than a glass bowl).  Cover the bowl with plastic wrap and place a stone in the center of the plastic wrap, just over the glass.  When the water evaporates and condenses onto the plastic wrap, the weight of the stone will lead the purified water droplets to drop into your glass.

Set your Solar Still out in the sun.  When you have collected your purified water, have your child observe and taste the differences between your original liquid and the purified water.

Monday, July 11, 2011

SMMART TIME-OUT:
10 ways to recycle tin cans
Get a Free Ticket to the Circus in SLC!

Yes! FREE!...and it only requires 10 non-perishable food items and missing out on a little bit of sleep...

The public is invited to come to the EnergySolutions Arena Plaza Door Six Monday, August 8th. The FIRST 200 people to come to front doors at the arena on the Plaza and donate 10 cans of food at 6:00 a.m., the FIRST 200 people to come to front doors at the arena on the Plaza and donate 10 cans of food at 7:00 a.m. and the FIRST 200 people to come to front doors at the arena on the Plaza and donate 10 cans of food at 8:00 a.m. will receive a free pass to the opening night performance of Fully Charged, the all-new surge of circus entertainment from Ringling Bros. and Barnum & Bailey where megawatts of thrills explode off of the arena floor with breathtaking dare-devilry, superhuman stunts and never-before-seen performances that energize Children Of All Ages, playing at the EnergySolutions Arena Thursday, September 22nd through Sunday, September 25th.

I'll be there bright and early trying to collect the MOST food in a friendly competition between bloggers.  Come donate, get a free ticket per person, and help the Utah Food Bank! (and help me win:)!

That got me thinking about canned goods-what to do with all those cans?  Of course, you can toss them in your blue recycling bins and bags...or you can get a little creative!
10 ways to re-use a Tin Can:
1) Discard the paper label, rinse out the can and punch a design through the sides of the can.  Place a candle inside and you can arrange a beautifully striking tin can votive display.
2) Cut the top and bottom off of a tuna or chicken/ham meat can.  Rinse and lay it down in the skillet to keep your poached and fried eggs perfectly round.
3) Spray paint a large coffee can with acrylic spray paint and finish off with a clear acrylic spray paint sealer.  Tie a ribbon around the center and stuff with tissue paper= lovely gift box.
4) Cut the top and bottom off of a tuna can, rinse.  Use the can to cut dough for bisquit rounds.
5) Set up a10 cans in a triangular formation and let your child bowl them down.
6) Make a "phone".  Poke a hole through the bottom of two rinsed cans.  In each can, push each end of a piece of string through and tie a knot.  Listen in one end as someone speaks in the other end.
7) Decorate the outside of a tin can with paint or paper.  Make a pencil holder.
8) Set up a row of tin cans on the edge of a table and try to knock them over with a sling shot or rubber bands.
9) Clothespin Game.  Set a can down on the ground, place a clothespin or a penny between your knees and walk over to the can.  Try to drop the clothespin into the can.
10) Poke drainage holes in the bottom, fill with potting soil and use the cans to grow herbs.

Be sure to cover those sharp can edges with duct tape and have fun creating!

Monday, July 4, 2011


SMMART READING:
Icing Letter Journal

What else to do with left over icing from birthday cupcakes?

Yeah, go smear it on your bathtub tile wall.
Let your child journal on the wall with her finger about how to make cupcakes and ice them. 
It can just be key words or whole sentences.
Sure, even draw a few pictures in the icing.  Clean up is as easy as spraying down your walls...and maybe even your child.

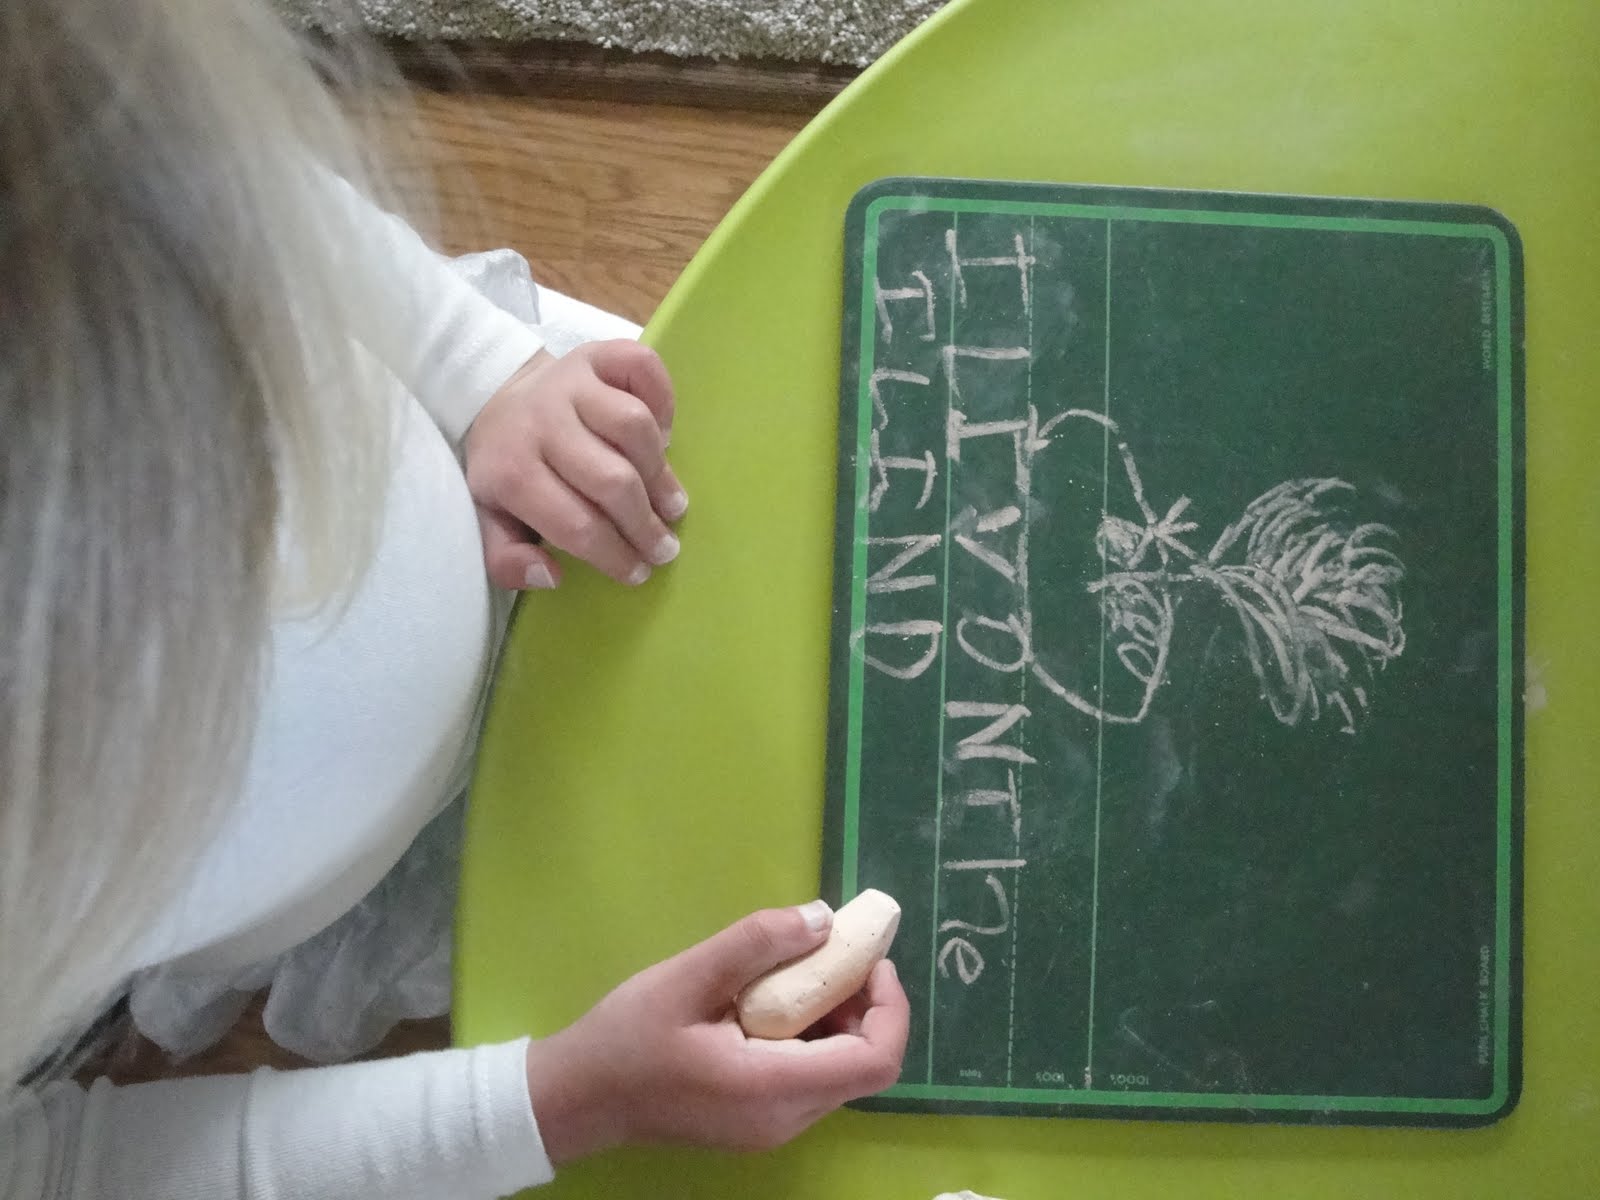
Don't forget to use the chalkboard as a journaling tool too!

"We need a variety of approaches to help humanity (and our "school's-out" insanity)" -Dalai Lama

Monday, June 27, 2011

SMMART MATH: ICE CREAM PARTAY


Well, "partay" might be kind of a stretch, but math is fun, right?!?

Actually, I think this could be a really fun way to entertain one night.  No stress of having people over and you have to worry about making a full-on dinner...have friends over for an Ice Cream "Partay" this summer...ColdStone style. 


Display all the fixins in fun glasses and jars out on the patio table.  Then, BRING OUT THE ICE CREAM!
Everyone gets to choose their favorite candies, cookie crumbles, fruit and toppings to add into the ice cream.  Have your guest add their add-ins right into a large ceramic bowl and mix it up with two large spoons, then dish into waffle cones.


Okay, now for the math.  Have your kiddos answer math questions to earn candies and  add-ins.

"4 + 6= the number of chocolate chips you can add into your ice cream"
"50% of 12 is the number of gummy bears you can add to your ice cream"
"Count 7 lemonheads and put them into your ice cream...good counting!"


I suppose you could even touch on a little geometry...cone shape of the icecream cone, sphere shape of the malted milk balls, are there any cube-shaped or pyramid-shaped candies?


Cool summer fun! Thanks to my sister, Leslie for the perfect way to spend a SMMART Math summer night!

Friday, June 17, 2011

SMMART SCIENCE: Air Power

I brought out two Fourth of July pinwheels from storage in anticipation of the big parade next month.  My girls had fun with the toys they only see for about a month each year...blowing them and waving them around so the shiny foil would spin and spin.  This started me thinking about other "machines" we could make that use air power (curiosityzone.com).
Air Powered Pinwheels
These little pinwheels brought hours (no exaggeration) of fun discovery and entertainment for my girls.  They loved blowing up the balloon and watching it deflate over and over and over and over.  I'm surprised the balloons lasted as long as they did.  The pinwheels didn't work so well after the first few trials, but they still provided plenty of fun. 

You will need:
Bendy straw
Balloon
Tape
Stick pin
pencil with an eraser

Tape the open end of the balloon onto the long end of the bendy straw and create a seal.  Make sure the straw is bent into a perpendicular position.  In the straw (closer to the balloon), pin the straw onto the top of a pencil eraser.  You want the straw to be horizontal with the floor.  Now let your child blow up the balloon by blowing through the straw.  When your child releases the straw from her mouth, the force of the air leaving the balloon and pushing on the existing air should push the pinwheel around in a horizontal direction. 
Air Power Hover Craft
You will need:
Water bottle top that opens and closes (spout)
CD (old one you don't need and can be scratched up)
Hot glue gun
Balloon

You will also need a smooth surface for your hover craft to glide over (table, counter top).  Hot glue the bottom of the water bottle cap over the hole in the CD.  Slip the opening of a balloon over the open water bottle top.  Blow up the balloon by putting your mouth over the hole on the bottom of the CD.  When the balloon is full enough, twist the balloon to hold in the air.  Place the CD hover craft over the counter top in gliding position.  Untwist the balloon to release the air and tap the CD slightly.  Observe the CD glide down the counter, as the air released from the balloon pushes against the counter. 

Newton's Law III "For every action, there is an equal and opposite reaction".  In both of these activities, the air released from the balloon is pushing against something (existing air particles or the countertop that pushes the air back up against the CD).  The other object "pushes back".

Monday, June 13, 2011

GUEST POST:
Relentlessly Fun, Deceptively Educational
Write Like An Egyptian

,
Hi, I’m Jana from Relentlessly Fun, Deceptively Educational. I’m thrilled to share this fun activity with you on Lisa’s blog!!
,

When my son and I got to the sixth chapter of Mary Pope Osborne’s Magic Tree House book, “Mummies in the Morning,” a light bulb went off in my head.
The third book in the Magic Tree House series takes Jack and Annie back to ancient Egypt where a ghost-queen asks for their help translating some hieroglyphs.

With a big plastic tub of card-making stamps collecting dust in our basement, I seized an opportunity to put them to use. First I picked 26 small stamps, one for each letter of the alphabet and stamped a key.
Then I stamped a “hieroglyphic” message for my son. Just like in Pope’s book when the code led the two young children to the Book of the Dead, the message my son decoded would reveal a hidden treasure under his bed (an inexpensive toy concealed in a brown lunch sack). I also made a blank sheet so he could stamp his own “hieroglyphic message” for his Dad to decode.
Before my son started to read and write like an Egyptian, though, we read the First Facts book “Hieroglyphs” by Kremena Spengler.


To check out more ideas and activities, stop by my blog at Relentlessly Fun, Deceptively Educational.

Monday, June 6, 2011

SMMART READING: Tracing Shadows

Finally some sunshine comin' our way...get out there and chalk up the sidewalk!

Break out the chalk and have your child trace your shadow as you stand in some fun, crazy position.  After your child traces your shadow, he can label it  "Mom".
Trace different family members and various objects you find around the house or yard...a ball, a flower, a stick or a bike...and have your child practice handwriting and spelling by labeling each item he traces.

LinkWithin

Related Posts with Thumbnails